wide and shallow♪sometimes deeply
Timpani mallet felt replacement guide

In recent years, there has been an increase in the number of people who want to make timpani mallets and change felt by themselves. At the same time, we have received many inquiries regarding how to replace felt. There are many ways to replace felt, such as size of felt, thickness, sewing method, etc., and there is no one method that is the best, but here we will introduce the basics of how to replace felt, which is thought to be relatively error-free.
What to prepare
- Mallet for replacing felt 1pr
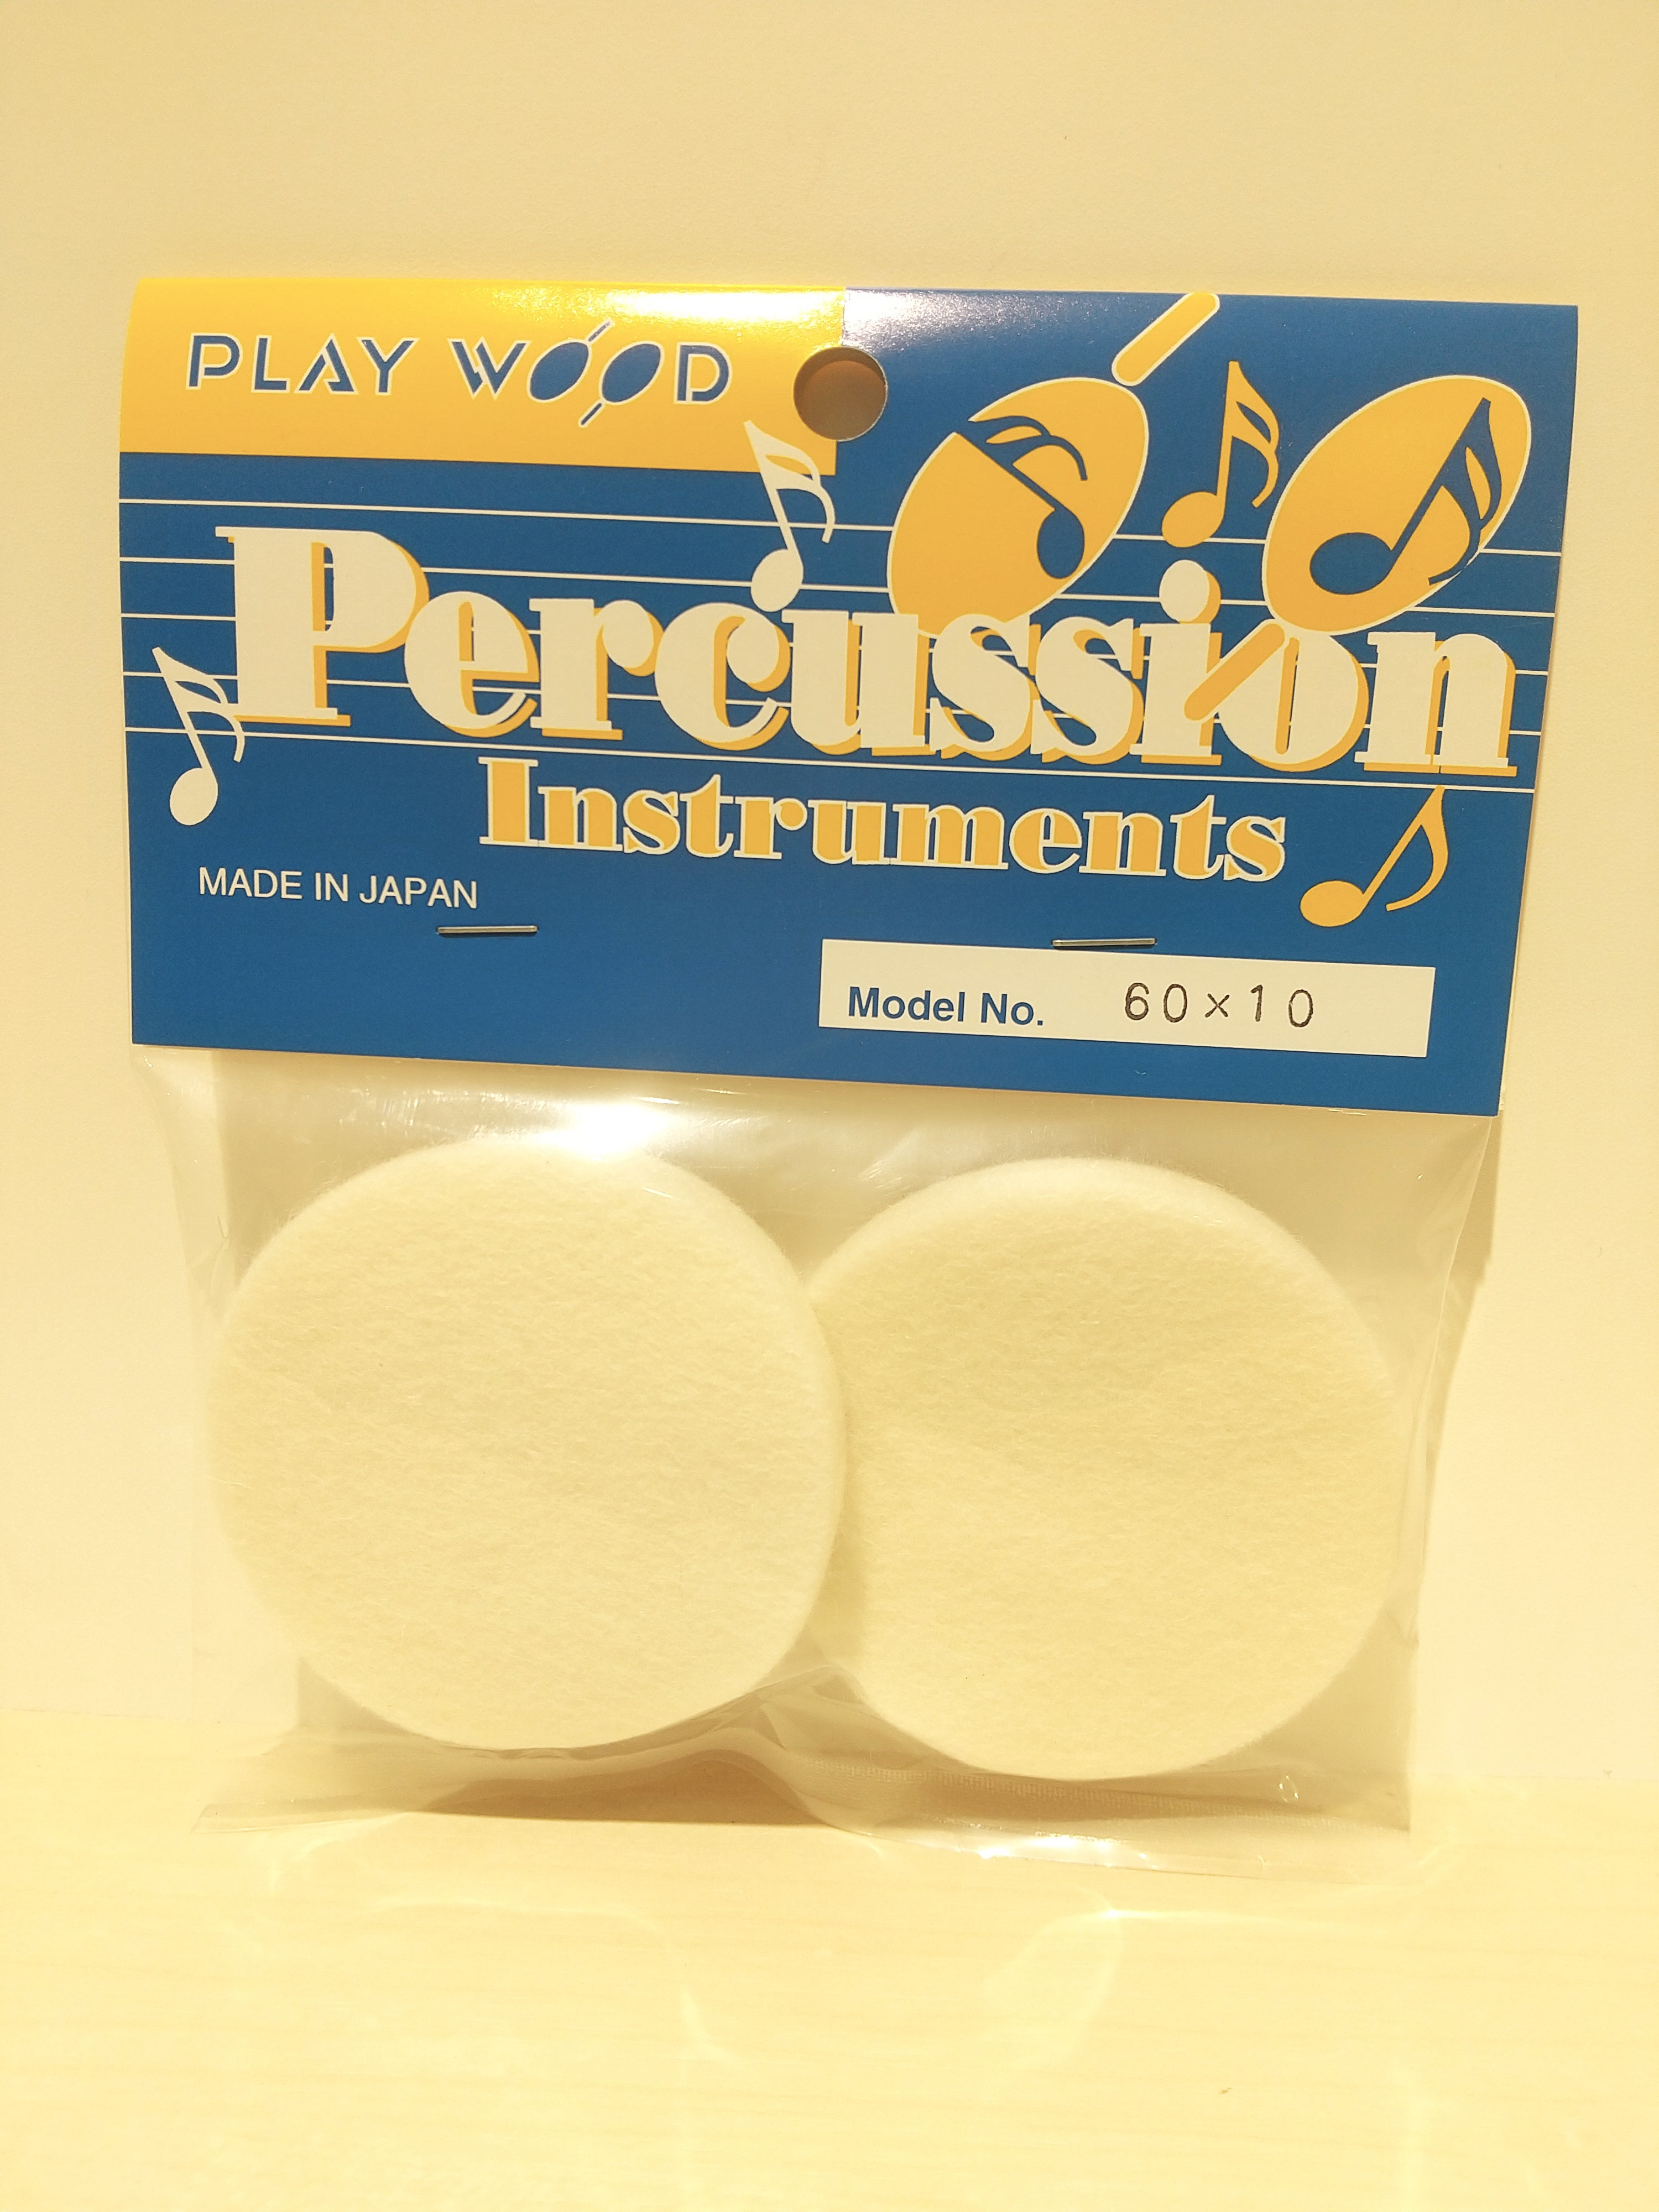
- Felt (size and thickness vary depending on the hardness of the mallet)
- Thread (sturdy)
- Needle (something that can be threaded with thick thread)
- Measure (soft material)
- Small flathead screwdriver (thin, hard rod)
- scissors
- compass
Let's try it!
1, Decide the size of the felt
Remove the old felt and measure the length of the mallet from neck to neck.
During the rolling process, the felt will get used to it and stretch a little, so make the diameter of the felt about 2 mm smaller than the measured length, and use a compass and scissors to cut it as round as possible (close to a perfect circle) so that the two pieces are the same size.


2, Decide the thickness of the felt
The thickness of the felt has the biggest effect on the hardness of the mallet, but please limit the thickness of the felt to 7 to 8 mm at one time.
If it is thicker than that, it will be very difficult to work with.
The approximate thickness is
- Hard → around 5mm
- Medium hard → 6-7mm
- Medium to soft → Adjust the thickness and wrap twice
And so on.
The approximate thickness assumes that the underlying felt is attached. If you don't have felt as a base, use a 1mm thick one sold at a craft store that comes with a sticker, or make the felt a little thicker.
3, tear the felt

The felt is torn and used. Please note that the torn surface will be the hitting surface.
Work carefully so that the two pieces of felt used for the left and right mallets are the same thickness.
PLAYWOODFelt is made of many thin layers, so start by tearing it thickly, then peel it off little by little, matching the thicker of the two layers to the thinner one, until the thicknesses match.
4, Sew felt

If you sew one thread, you may not be sure about its strength, so sew two threads.
Depending on the strength and thickness of the thread, there may be only one.
The sewing method is a regular stitch, but you need to be careful about the following:
- Align the beginning and end of sewing with the wrong side (the side that is not the sewing surface)
- Make sure the stitch width is not too narrow or too rough.
There are two points.
The sewing width will vary depending on the thickness and diameter. The felt in the photo is 60mm x 7t, so please use it as a reference.
5, Squeeze the felt

The knot will be a hard knot.
To make a tight knot, you will need to do the same thing twice, but after the first time, pull the thread to see if it fits well.
Neck (ShaftIf you can't squeeze it all the way down to the part (
6, tie the thread

Now it's time to tie the thread, but if you're alone, you won't have enough hands and it will be a difficult task, so ask someone to help you.
With the felt wrung out, have someone use a flat head screwdriver to hold down the knot to make sure it doesn't come loose to make a tight knot. Please be careful to make sure that both apertures are the same.

Once you have finished tying the knot, cut the thread to a length that will not untie the knot. Use the flathead screwdriver you used earlier to push the protruding knots inside so they are no longer visible.
7, Finishing

Use scissors to cut off any part of the felt that sticks out after squeezing.
This is just a matter of appearance, so it doesn't necessarily mean you have to cut it.
You can also make adjustments by raising the felt with a needle and pressing it into the narrowed area without cutting.
When cutting, be very careful not to cut the thread.
8, completed

There are some details that I have left out this time, such as fine-tuning the aperture and how to attach the decorative string around the neck, but if you can do this, the basics are perfect. Don't be afraid to take on challenges!
執筆者:パーカッション・シティ